Real life CS:GO flashbang
A while ago this Michael Reeves video came out demoing a creative project in which he shot himself based on what was happening in the Fortnite game he was playing. This gave a barrage of new ideas for the hacker house.
Lucky for us, we had the perfect skill set to recreate a funny video that we had seen online. Essentially, a real life flashbang that didn’t just blind you in your game of CS:GO, but outside as well.
Meet the Team
Paxton “Demoman” Marchifava
Specialty: Hardware
Malcolm “The Engineer” Boyes
Specialty: Embedded Devices
Jarvis “Support” Coghlin
Specialty: Programming
Meet the Hardware
LEDs are pretty good at their job these days. Ten 100-watt cells from Aliexpress did the job.

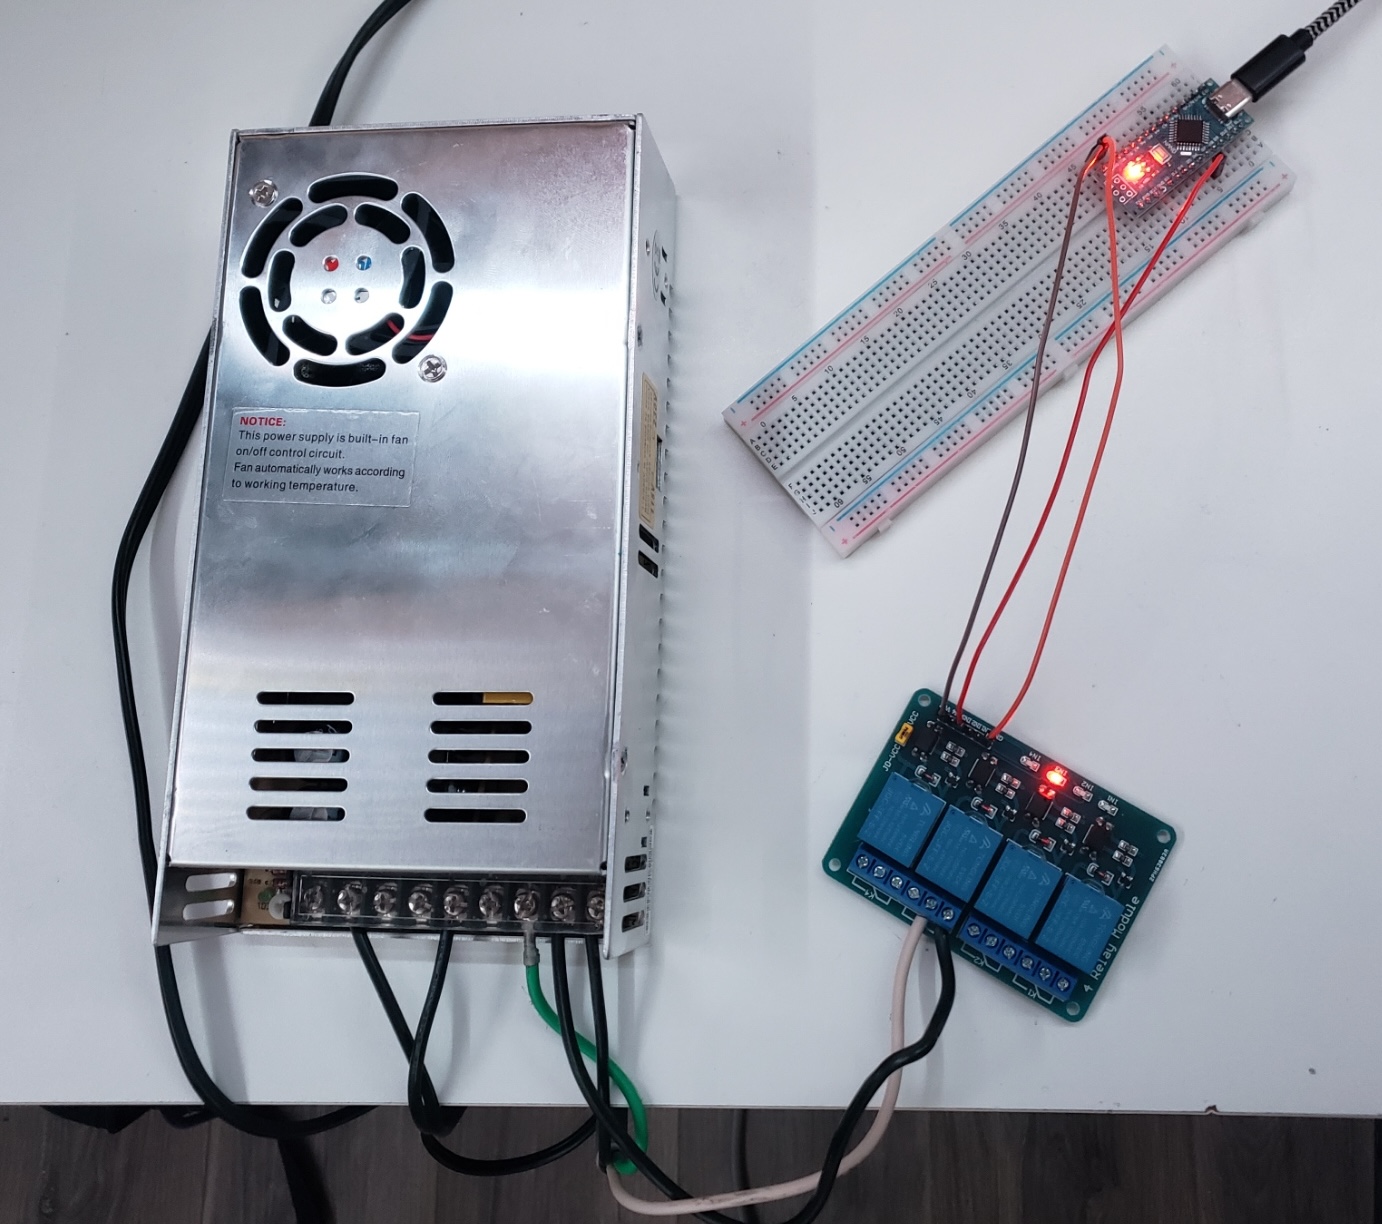
Power was obtained from an off-the-shelf 24V PSU, and the setup could be controlled with a 5V relay and Arduino Nano.
Meet the Software
Very simple. If multiple points on the screen are detected to be brighter than a certain threshold, fire away! The Python code for this looks something like this:
 1def is_white(r,g,b):
 2    cutoff_brightness = 245
 3    if r > cutoff_brightness and g > cutoff_brightness and b > cutoff_brightness:
 4        return 1
 5    return 0
 6
 7def check_pixels_for_flash(img):
 8    pixels_to_check = [(30, 30),
 9                       (200, 200),
10                       (150, 150), ]
11    for pixel in pixels_to_check:
12        pixel_colors = img.getpixel(pixel)
13        if not is_white(pixel_colors[0], pixel_colors[1], pixel_colors[2]):
14            return 0
15    print("All pixels were white...FLASH ME")
16    return 1
17
18if __name__ == "__main__":
19    while True:
20        img = pyautogui.screenshot(region=(0,0,300,300))
21        if check_pixels_for_flash(img):
22            comms.turn_on_lights()
23            print("Flashed")
24            time.sleep(2)
25        time.sleep(0.01)
The is_white() function can be adjusted for fine-tuning, however during testing we had no issues with a value of ~245.
Final Setup
Once the code is uploaded to the Arduino and everything is plugged in, this is the result:
The entire project in actionThe view from outside the windowThanks for reading! This turned out to be a relatively simple, but very fun project. You can check out the project here and create your own.